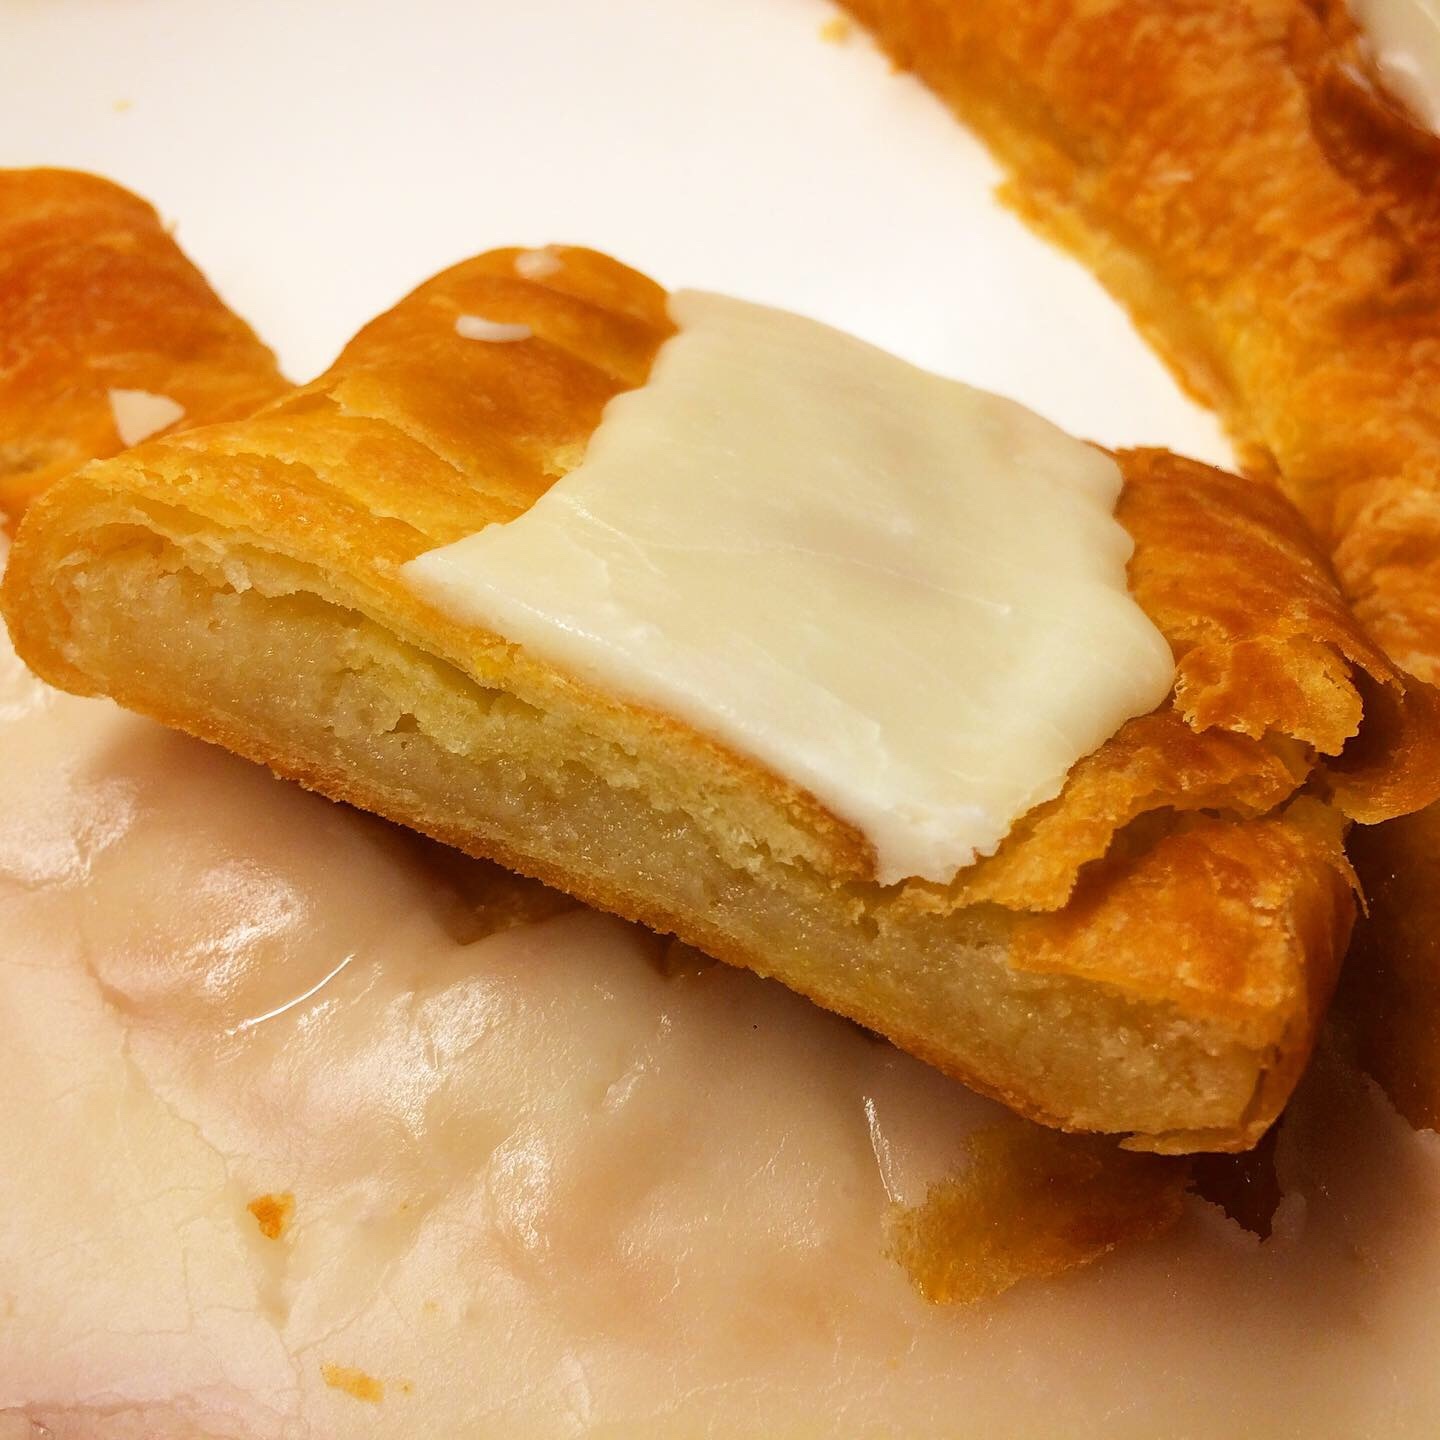
DIY: Blue Cheese Danish
On July 1st, Glaser’s Bakery, the crown jewel of Yorkville, closed its doors for good. Like most regulars, I wasn’t just devastated, I was lost. What was I supposed to do, start going to Two Little Red Hens? Are you serious? The oldest German bakery in New York City closes down and I’m supposed to start going to a cupcake shop? I don’t think so. This was a travesty of the highest magnitude.
Back in my musician days, (yes I had musician days) I used to work at a recording studio. They didn’t pay me. They didn’t even buy me lunch. I was an indentured se…intern. I’d get in at 9am. My first task everyday was to clean the toilets and wipe off all the equipment in each of the studio’s many rooms. I’d roll cables, occasionally setup microphones and drum kits, but a lot of the job was just sitting around, wishing something would happen.
Since I was the lowest on the totem pole, I had many bosses. The studio owner was a French man, and so were a lot of his engineers. He did not like me. I spent a lot of time cleaning his apartment which was on the floor below the studio. His wife was nice though. She made a lot of chili. I’m not sure why, but sometimes she would share it with the employees.
This was my life as a twenty-something music student. In retrospect, it was clear I wasn’t going to be the next George Martin, but at the time my eyes were starry and I would hear none of that. I kept that job for six months as my savings slowly dwindled to zero. Watching my bank account and dreams evaporate at the same time was tough, and everyday working there, it became more apparent that music was not going to be my future. The only thing that kept me going was the fact that on my walk home, I’d pass Glaser’s bakeshop. I must have stopped in there four times a week, always ordering the same cheese danish. After I gave up music and became a writer (I recognize this was a lateral move in terms of financial responsibility) this didn’t change. I still went with $3 cash in my hand several times a week to pick up my comfort food.
Glaser’s was there for me when I was living at home, subsisting on rice and beans every night and wondering if anyone would ever hire me. And now, it’s gone. All good things come to an end, but that doesn’t make it any easier to say goodbye. It feels a little bit like losing a good friend. Also, I don’t have anywhere to get a good cheese danish. Their recipe was 115 years old and is probably lost forever. Maybe if I infuse a recipe with weed I’ll be able to convince myself it tastes just as good. Here’s to trying.
Part One: The Dough
Ingredients:
1 1/2 cup of bread flour
2 tablespoons of granulated sugar
2 teaspoons of active dry yeast
3/4 teaspoon of salt
1 1/4 stick of unsalted butter
2 ounces of cannabutter
1 large egg
1/4 cup of whole milk
Step 1: Combining Ingredients
Combine the flour, yeast, sugar, and salt into the food processor. Cut the butter and cannabutter into tiny cubes and add to the mixture. Pulse the food processor.
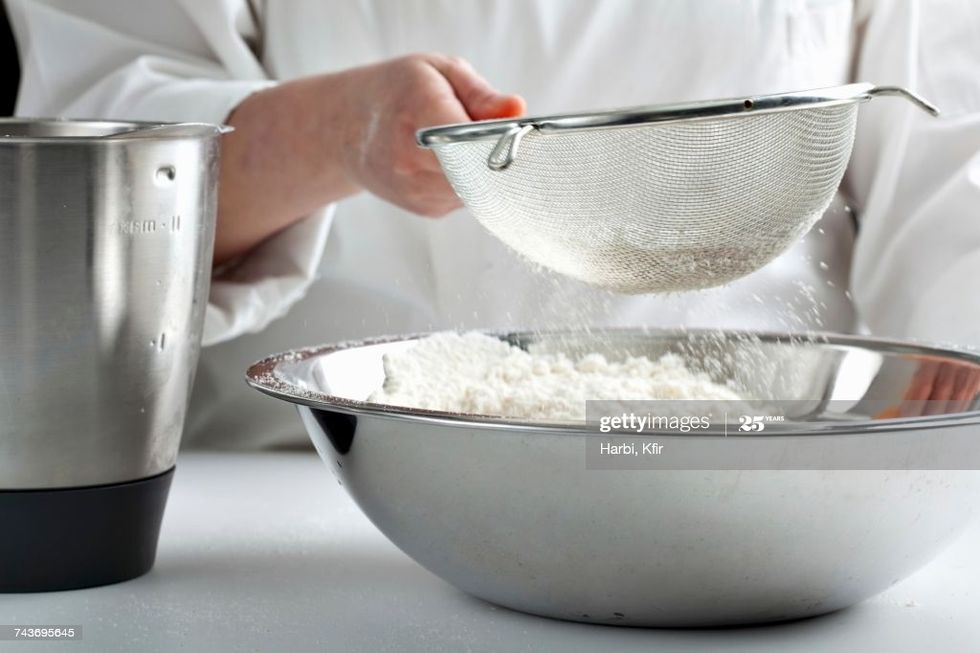 Step One – Combine Ingredients
Getty Images
Step 2: Add Water To Milk & Egg
Mix two tablespoons of water with the milk and egg in a small bowl. Whisk it.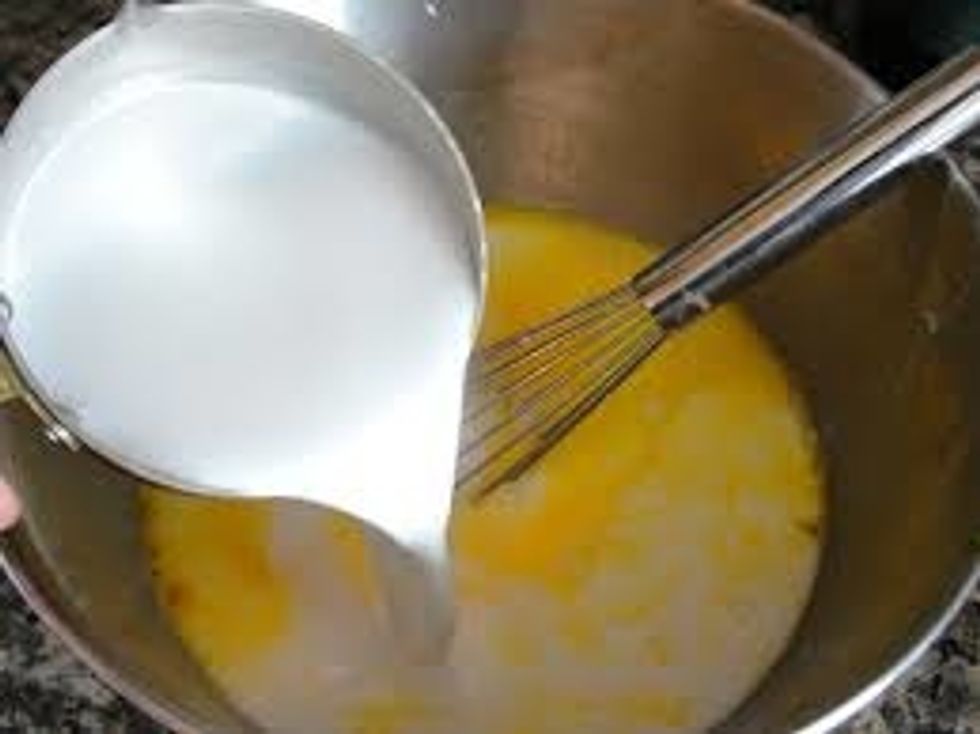 Mixing IngredientsGoogle Images
Step 3: Shaping The Dough
Combine the two mixtures and mix with a rubber spatula. Shape the dough into a rectangle and wrap it in plastic wrap. Allow it to sit in the fridge for at least three hours.
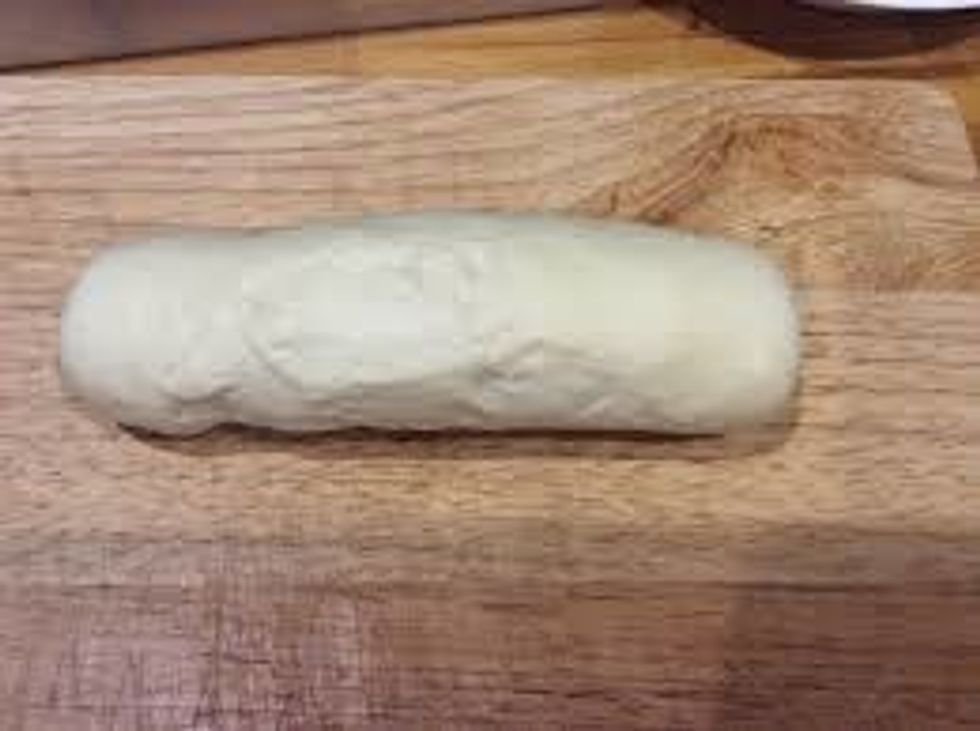 Shaping The DoughGoogle Images
Step 4: Rolling The Dough
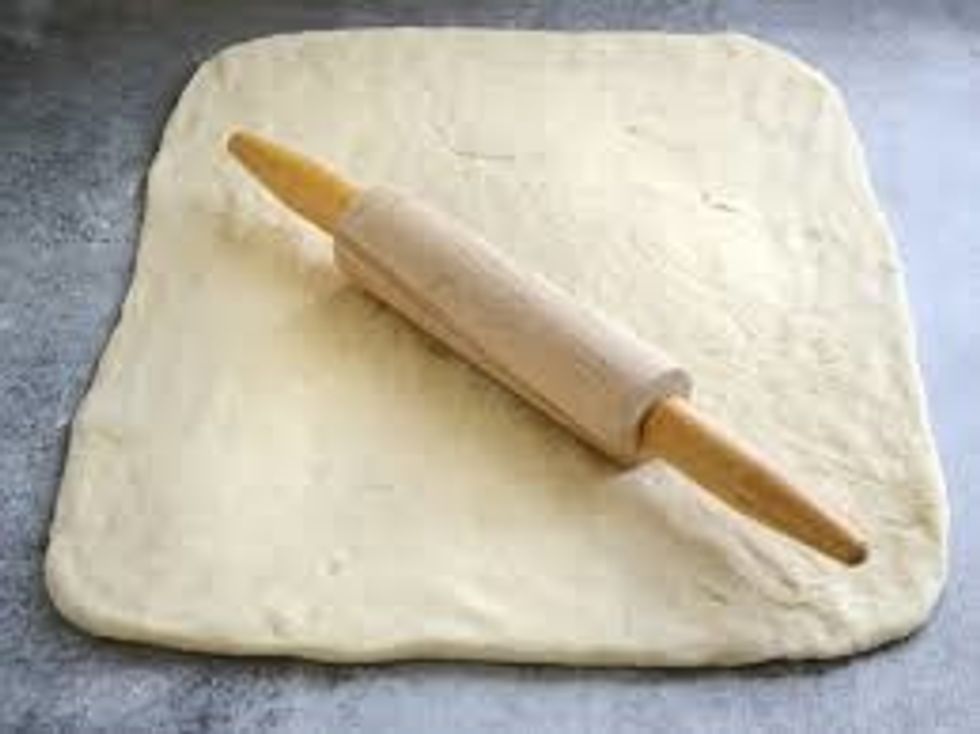
Roll the dough into an 8-by-15-inch rectangle. You may need to roll it a few times, as the dough will be rough with visible pieces of butter sticking out. Roll until it comes together. Put the rectangle into the fridge.
Part Two:
The Cheese Danish
Ingredients:
8 ounces of cream cheese
1 1/4 cup of confectioners’ sugar
1 large egg yolk
Pinch of salt
1/2 teaspoon pure vanilla extract
The danish dough
1 large egg, lightly beaten
2 tablespoons of whole milk
Step 5: Preparing The Filling
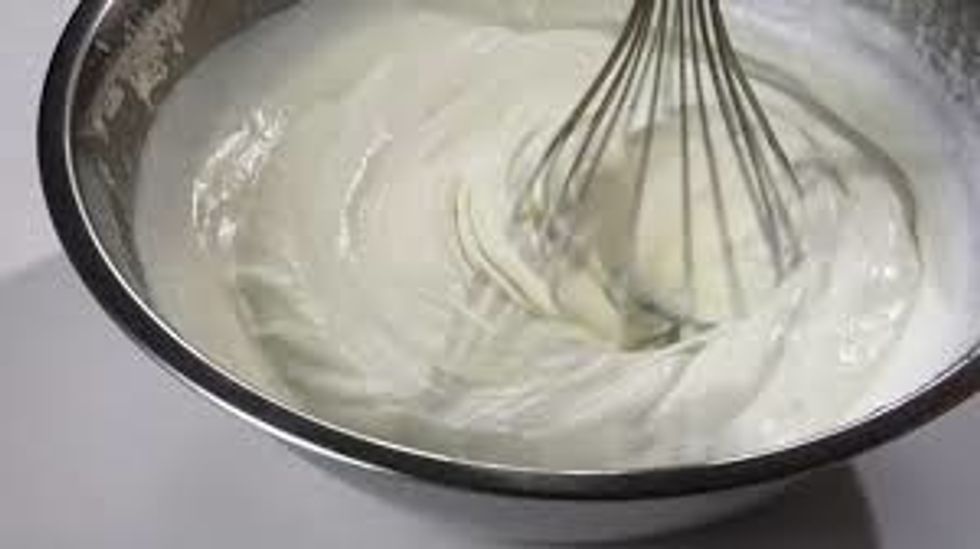
Put the cream cheese, 1/4 cup confectioners’ sugar, the egg yolk, the salt, and the vanilla in a bowl. Mix until smooth and then place into a ziplock bag on the side.
 Preparing The FillingGoogle Images
Step 6: Making The Foundation
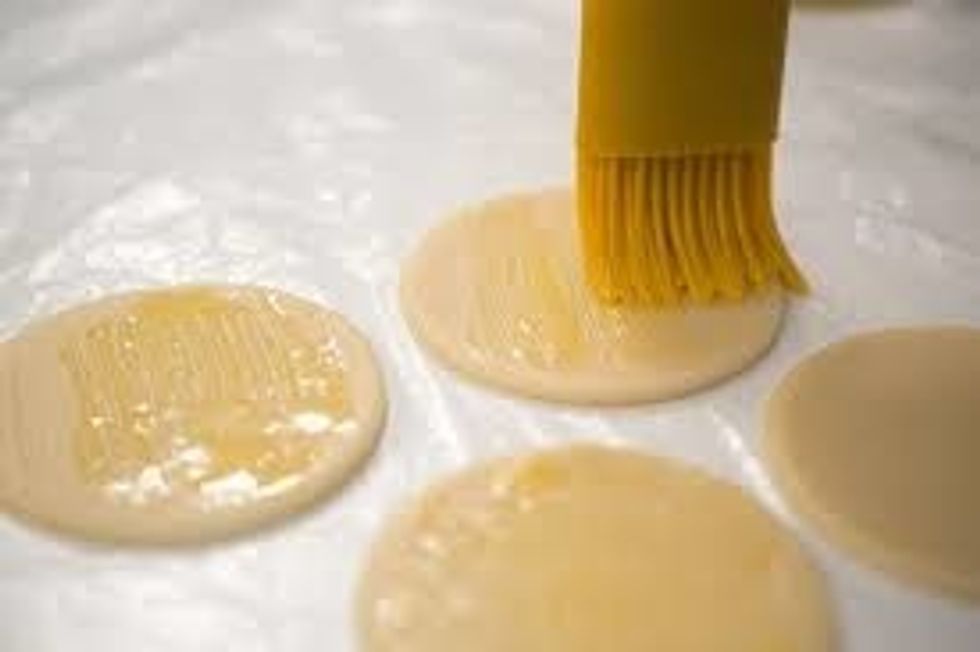
Roll the dough into a square and cut into ten squares of equal size. Brush each square with the beaten egg and fold each corner into the center. Set the squares aside on a parchment lined baking sheet.
 Making The FoundationGoogle Images
Step 7: Filing The Danish
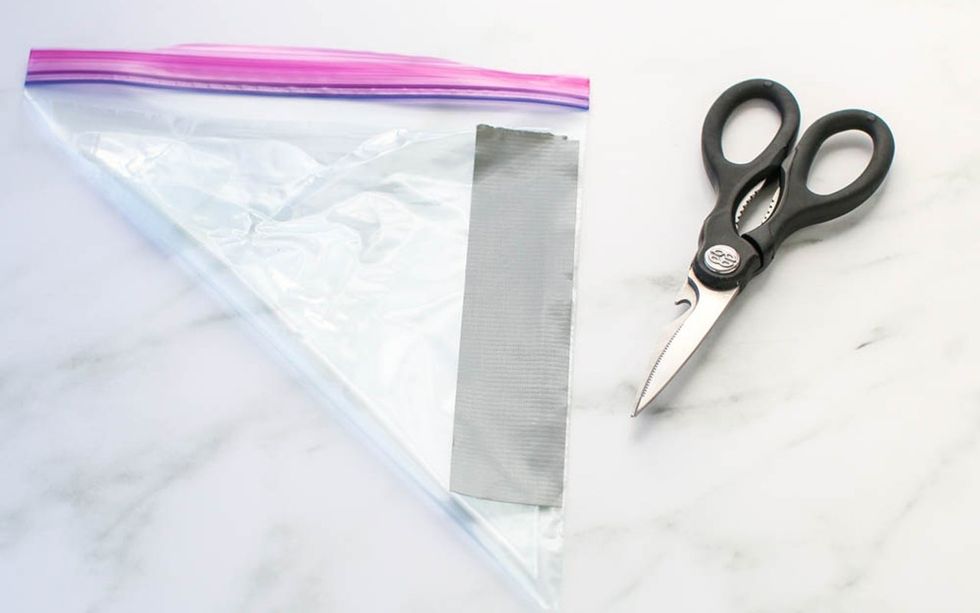
Cut the corner of the icing bag. Use it to pipe the filling into the center of each piece of folded dough. Cover the pastries with plastic and let stand for one hour.
 Making A Ziploc Piping BagGoogle Images
Step 8: Baking The Danish
Heat the oven to 425˚F. Gently brush the pastries with the beaten egg. Bake for ten minutes. Rotate the baking sheets and reduce the temperature to 375˚F. Bake for another six to eight minutes.
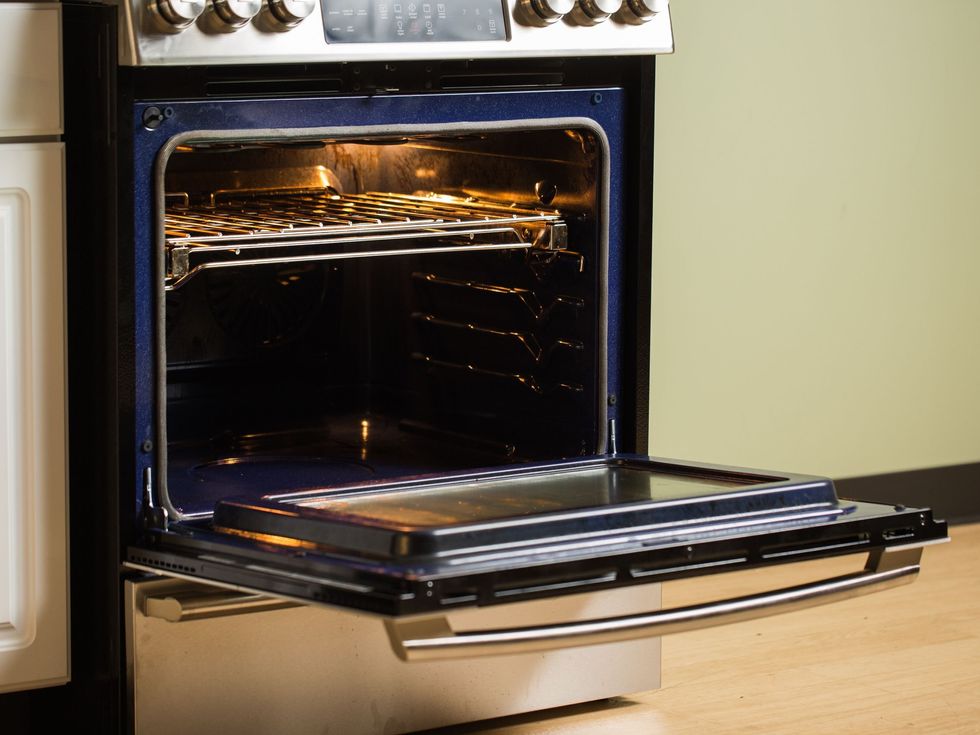 Baking The DanishGoogle Images
Step Nine: Glazing
Whisk together the rest of the confectioners’ sugar with the whole milk to create a glaze. Drizzle it onto the danishes. Let them cool to room temperature and enjoy.


